前準備
メニュー→「編集」→「ノートブックの設定」
ハードウェア アクセラレータを「T4」に設定
チートコード
!mkdir /notebooks
%cd /notebooks
!rm -rf stable-diffusion-webui
!git clone https://github.com/AUTOMATIC1111/stable-diffusion-webui

%cd /notebooks/stable-diffusion-webui/models/Stable-diffusion
!wget https://huggingface.co/Kotajiro/yayoi_mix/resolve/main/yayoi_mix_v25-fp16.safetensors

!python3.10 -m pip install torch==2.1.2 torchvision==0.16.2 torchaudio==2.1.2 torchdata==0.7.1 torchtext==0.16.2+cpu xformers==0.0.23.post1 --index-url https://download.pytorch.org/whl/cu121 -U
!python3.10 -m pip install httpx==0.24.1
!python3.10 -m pip install matplotlib -U
!python3.10 -m pip install ipython -U
from IPython import get_ipython
get_ipython().run_line_magic('matplotlib', 'inline')
%cd /notebooks/stable-diffusion-webui
!COMMANDLINE_ARGS="--xformers --enable-insecure-extension-access --share --gradio-queue --theme dark" REQS_FILE="requirements_versions.txt" python3.10 launch.py
参考にしたファイル
paperspace-template/webui2.ipynb at main · javacommons/paperspace-template
Contribute to javacommons/paperspace-template development by creating an account on GitHub.
元はPaperspace向けの物だけどこのスクリプトが一番安定して動く
実行して3〜5分くらい待つと https://(ランダムな文字列).gradio.live/ のリンクが出てくるのでそれを開く
Stable Diffusionの設定
最初におすすめの設定
Settingsタブを選択→「Saving images/grids」
「png」になっている所を全て「jpg」に書き換える
上部の「Apply settings」を押す
いざ画像生成
txt2imgタブを選択
Prompt
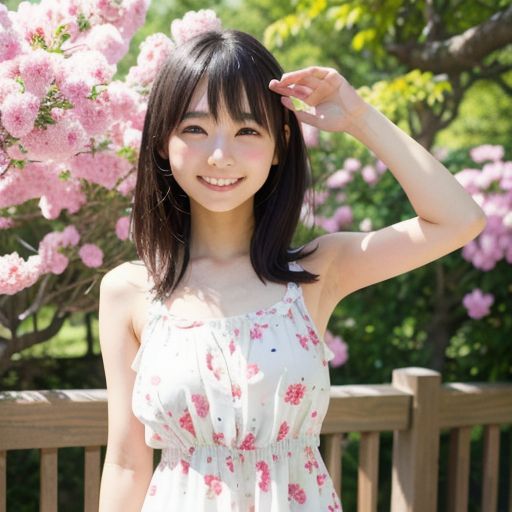
1 japanese girl,full body,sundress,outdoor,smile,detailed face,detailed eyesNegative prompt
(worst quality:2)で、Generateを選択
こんな感じ

解説
Promptについて
自分の場合は普段はこんな構成で作っています
「登場人物」,「画角」,「衣装」,「背景」,「表情」,detailed face,detailed eyes
細かい設定は他のブログを検索してみてください
Negative promptについて
最近は
(worst quality:2)
一択です。
ホクロやニキビが気になる場合はこんな感じにします
(worst quality:2),mole,acne


コメント